
This is one of those things that really haunted me when I was in high school. what is it? what does it do? To make matters worse I had a school mate who was a “computer wizard”, This was one of those guys who disguised his vanity by showing you how dumb you were, so he would shroud it in mystery telling me things like it can remove viruses but never showing me how. I wanted to know what is this mysterious thing? How does it do what it does? This is exactly what this article is meant to do, that is introduce you to the command prompt and show you some underlying principles and a practical example of showing how you can get back your files when a virus hides it.
First of all there are two ways of “talking” to your machine:
- Command Line Interface (CLI) – This was the original way of us giving computers commands. despite being the very first method it is still commonly used by those in the I.C.T profession. The command prompt and Linux terminal fall under this.
- Graphical User Interface (GUI) – This one you are familiar with. This is where you have commands represented as icons and buttons and you can click with either a mouse or your finger. This method is preferred by many as their favorite way to interact with a machine.
So with that in mind we are going to focus on the command line interface. starting with command prompt.
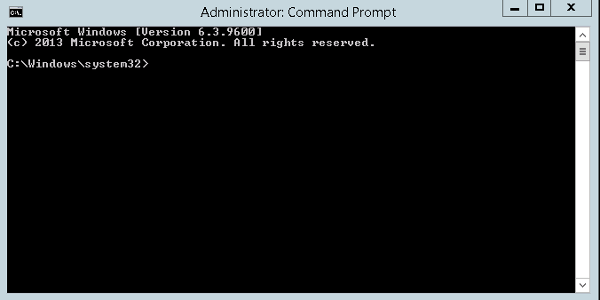
Dissecting the command Prompt
The Prompt
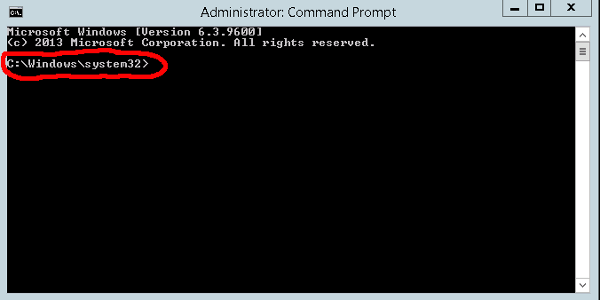
The prompt is circled in red in the picture above. The prompt actually does what the name suggests, it prompts the user for the next command. So once a command is completed you will be prompted for the next one and this continues until you quit or escape the command prompt. In windows the prompt is always preceded by the current directory or folder. For example in our above example we are in the C:\Windows\system32 folder or directory
The Command

This is the command or program you wish to use. in the above case I am going to use the attrib command. This is a windows command that deals with files and folders attributes. (don’t worry if you don’t understand it will become clearer as we move along).
The Arguments
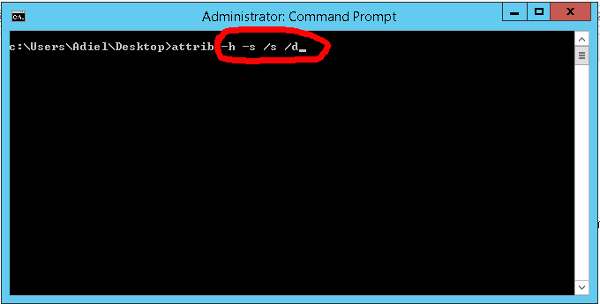
The arguments is the options that are passed to the program telling it what you want to do. Each program responds to arguments in its own way. arguments are separated by a space in windows. For example above we have the four arguments:
- “-h”
- “-s”
- “/s”
- “/d”
So now with that in mind we can briefly explain what the “attrib -h -s /s /d” command does:
First of all windows has this concept that a file and a folder has attributes or some certain properties that will determine how windows will treat the file or folder. some common attributes are:
- Hidden – If a file and folder has this attribute you will not be able to see when you browse through the file explorer in windows.
- System – If a file has this attribute also you will not be able to see it when you browse through the file explorer in windows. If it is a file you may also be prevented from modifying it
- Read-Only – if a file or folder has this attribute you will be prevented from modifying it. You will only be able to read it but you cannot edit it.
That now brings us to the first two parameters “-h” and “-s” tell the “attrib” command to remove the “Hidden” and “System” attributes. The “attrib” command in this case interprets it as mathematics would “-h” means remove “hidden” attribute, “+h” means add the hidden attribute. But where are we removing the attribute from? The answer comes from from the next two parameter “/s” and “/d”. The “/s” tells it to apply the command to every file in the current folder and every sub folder under the current folder. The “/d” tells it to apply it to folders as well (notice the “/s” touched files only not folders).
Recovering Files Hidden By A Virus
So let us see step by step how to show files hidden by a virus. First of all once you receive such a flash disk do NOT open any files or folders on it most will just be shortcuts to launch the attack. For most of this kind of virus make sure you have something to block autorun.inf file from being run automatically. This tutorial assumes the threat has already been neutralized or removed.
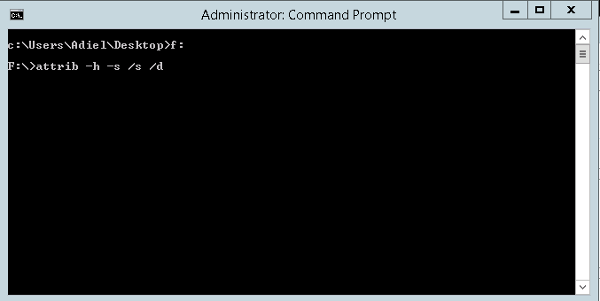
The Picture above shows how it can be done with only 2 commands. Pretty simple. The first command I write “f:” tells windows to go to drive F:\ that is the drive my flash disk is assigned you may need to check yours. The second command is the “attrib -h -s /s /d” which we have seen what it does unhides everything. In some cases you will find all your files were moved to a funny folder. if you do find files ending with .bat, .vbs, or .js do not open them it is best to delete them.
Some Extra Tips
Some few useful commands you may want to know are
- cd – this stands for change directory ( a fancy name for folders) you use this command to enter into a folder. so if you have a folder called “mine” in your current directory you would type in “cd mine” to make it your current directory. To go back to the previous (Parent) directory just type “cd ..” (the two dots represent the parent directory).
- dir – it displays files and folders in your current directory.
With that you are able to traverse the command prompt.
Another tip is that suppose you have a folder called “My Important Picture” and you want to enter into it you do not have to type the whole name if it is the only folder beginning with the letters “My” all you have to do is type “cd My” followed by the TAB key. it will auto complete it for you.
What if you know a command but you don’t know how to exactly use it? You can use the “/?” argument for most commands to know how they are used. as an example to find out more about the attrib command go and type “attrib /?” and you will find some information on how to use it.